
Hello Everyone! I know, I know! I've been gone a while, but it's been Christmas, and as a part of my decision to have a calmer, easier, less stressful holiday, I let the whole blogging thing slide, and I apologize. But it was so worth it, as we had a wonderful, relaxing and drama free Christmas!
And I promise to announce the winners of the CSN giveaway in the next few days, but today I wanted to share with you a gift I made for a special friend.
I just got home from a little bit of rambling with my friend Phyllis. She is a relatively new friend - we met last spring - but has become a very special friend in a short amount of time! We love talking and laughing, shopping for bargains, riding around the beautiful countryside, and talking about crafting together. She is a teacher who teaches English to non-English speaking students in the K - 2 (I think) grades, but at the end of this school year she will be retiring, so LOOK OUT WORLD! We are going to have a great time together!!!
I had a hard time deciding what to give Phyllis for Christmas. For one thing, we didn't discuss exchanging gifts, but she has become so special to me that I couldn't imagine not giving her 'something' to let her know how much I valued her and her friendship. I tossed around several ideas, but none of them 'stuck', and one day I was reading someone's blog (so sorry I can't remember who wrote it!) and they talked about decorating some paper mache' boxes for gifts. In my stash I had several small boxes I'd bought a while back for $1 each, and decided to make her a box for storing things in her craft room. This one was SO MUCH FUN!!!

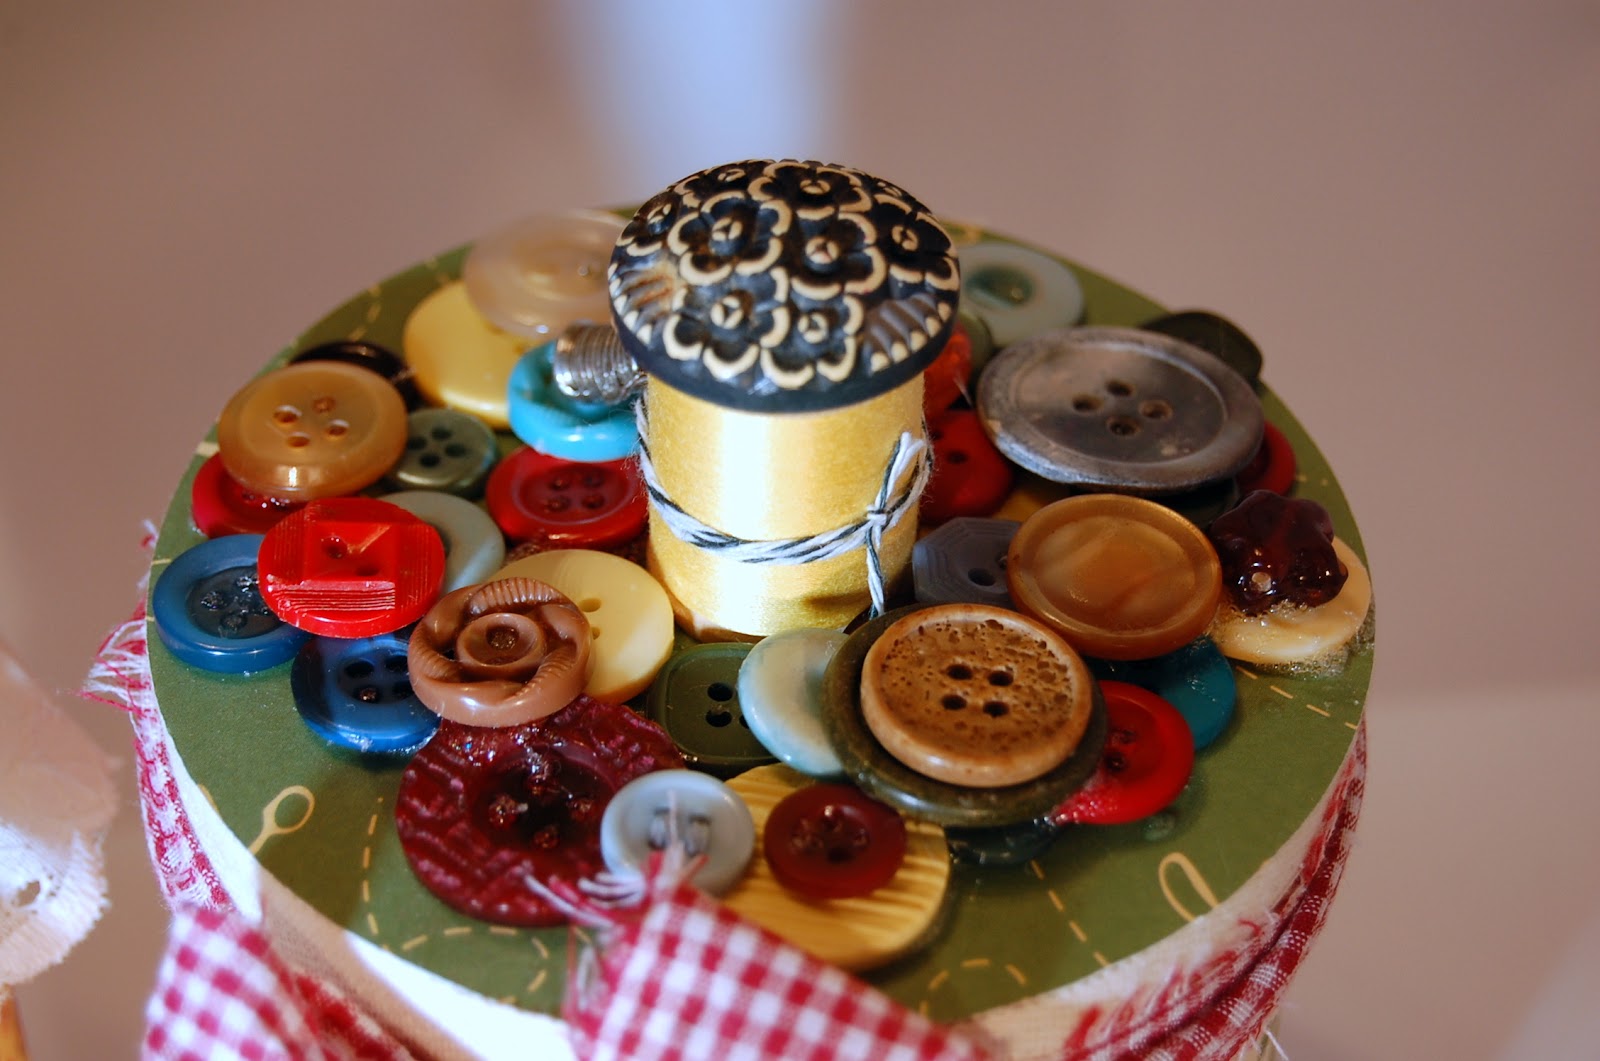
The papers are from a Cosmo Cricket 'Material Girl' and 'Garden Variety' Double Stack. The gingham fabric, twill ribbon, buttons (new and vintage), vintage spool of thread, and spool of thread charm were all from my stash. When I thought it was finished, I decided the spool of thread needed something more, so I glued a vintage button on top, and it's perfect! The bail fit down into the hole in the spool.


I filled this box with some bits of ribbon wound onto old fashioned 'peg' clothespins, a few yoyo's from vintage fabric, and a few odds and ends from my stash. And I had so much fun that I made her this box as well . . .


This box was the same size around, but about 1/2 the height, and I used more of the coordinating Cosmo Cricket 'Material Girl' papers, as well as the twill tape, gingham fabric and button from my stash. The flower was made by cutting a circle of felt, then gluing one end of a strip (@ 1 1/2") of the fabric to the center, then twisting and turning and gluing as I went, all the way until the felt was covered, then pulling the tail underneath the felt and gluing it to fasten. The button is simply glued to the center of the flower. And I loved this one so much that I made her this pin cushion . . .


The base is a small tin can, covered with coordiating 'Material Girl' papers, filled with pebbles for weight, and stuffed with poly-fill fibers, trimmed with cream eyelet lace, and felt on the bottom. (NOTE: I put felt on the bottom of all 3 pieces - it is a very clean and professional finish, and very inexpensive!) It was so easy to make!
A TIP here for making the fabric part of the pin cushion: make a large yoyo (this was about a 9" to 10" circle) out of the fabric, but instead of pulling it tight and tying off the thread, pull it about 2/3 tight, fill tightly with the poly-fill and then pull tight and tie the threads. Run a bead of glue around the inside of the can and then put in the 'ball' and hold until it's set. It's really easy! If you want more step-by-step instructions, let me know!
So, what started out to be one little box, turned into this really cute craft room set . . .

And Phyllis loved it, which was the very best part of all!
This was a very easy project - probably the hardest part was making the fabric flower, but even that wasn't very hard! And I think I'm going to have to make some more of these pieces for next spring's craft shows!
So, what was your favorite Christmas gift this year, given or received? Many blessings, Becky
.
1 comment:
This is a precious owrk of love! I adore your art and your thoughtfulness.
Post a Comment